How to setup your BitBox02 Hardware Wallet?

Buy BitBox02
Want to buy a BitBox02? Buy it here!
BitBox02: second-generation hardware wallet
The BitBox02 equips individuals to easily store, protect, and transact cryptocurrencies. Its companion, the BitBox App, provides an all-in-one solution to securely manage your digital assets with ease.
Simple and secure, it is a great solution for beginners: the BitBox App guides new users through every step and setting up the BitBox02 takes lessthan two minutes, backup to the microSD card included. The in-app guide answers common questions.
The BitBox02 is very straightforward to use. The detailed screen shows all relevant information for easy verification. And there are no clunky buttons: touch sliders allow intuitive and efficient operations, like confirming a transaction or verifying a receiving address.
It also is a great choice for advanced users: the BitBox App offers easy connection to your own Bitcoin full node, provides coin control and a mnemonic seed phrase backup. In combination with the free wallet Electrum, power users have not much left to wish for!
BitBox02 secure dual-chip architecture reflects values as a Swiss open-source security company: it enables the use of a secure chip for physical device hardening in combination with fully open-source firmware. With its small form factor and no visible screen when powered off, the BitBox02 is a very discreet device. Made in Switzerland, it inherits deep appreciation of quality and privacy.
BitBox hardware wallets are available since 2016, have been sold in over 100 countries, and every enhancement and security improvement lead to the BitBox02 available today.
Available editions: Multi and Bitcoin-only
The BitBox02 comes in two versions:
- the Multi-edition supports different cryptocurrencies and tokens and can be used as a second-factor authenticator.
- the Bitcoin-only edition features a radically focused firmware: less code means less attack surface, which further improves your security when only storing Bitcoin.
A short video introduction to the BitBox02, Swiss made hardware wallet

Shift Crypto: A wide product line
- BitBox01
- BitBox02
- BitBox02 Bitcoin-only edition
- BitBoxApp
- Steelwallet
- Backup card
- BitBoxBase (project currently on hold)
- Tamper-evident bags

Buy BitBox02 Hardware Wallet with5% discount!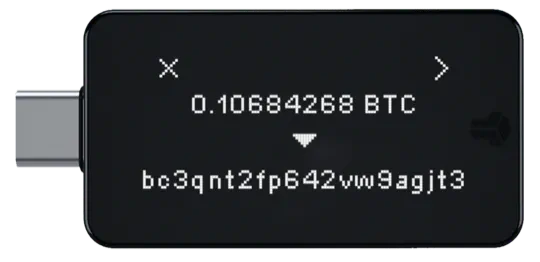
Use code "BUYBIT24" in the checkout process before you pay for the Hardware wallet.Link here >>> |
Download the BitBoxApp
In order to set up your BitBox02 and create your first wallet you need to download the BitBoxApp for your computer or your Android smartphone.Download
Launch the BitBoxApp
Once the download is finished, please install and launch the app.You should then see a screen that asks you to plug in your BitBox02.You may either watch the BitBox02 setup video tutorial below, or continue reading this entry.

Insert microSD card & plug in your BitBox02
Before you plug in your BitBox02, please insert the microSD card which will be needed to create a backup of your wallet in a later step.When done, please plug the BitBox02 into your computer. Optional: If needed, use the included USB-C to USB-A adapter or any USB-C extension cable you may have at hand.
Follow the in-app setup wizard
Once the BitBox02 is plugged in, the setup wizard will automatically start and guide you through the process of setting up your BitBox02.
Step 1: Install BitBox02 firmware
Once you plug in your BitBox02 you will see that it says "BitBox02 bootloader" as all new BitBox02 devices come without the firmware installed to ensure that you always start with the latest firmware. The BitBoxApp will then recognise your BitBox02 and ask you to upgrade the firmware. You will see a progress bar during the firmware installation process. Wait until the installation process is finished. The BitBox02 will restart automatically once the process is completed.
Step 2: Choose display orientation
Most laptops have ports on both sides. As we cannot know from which side you will plug your BitBox02, you will first need to select your display orientation.To do that, just touch the BitBox02 on the side that better suits your current position.

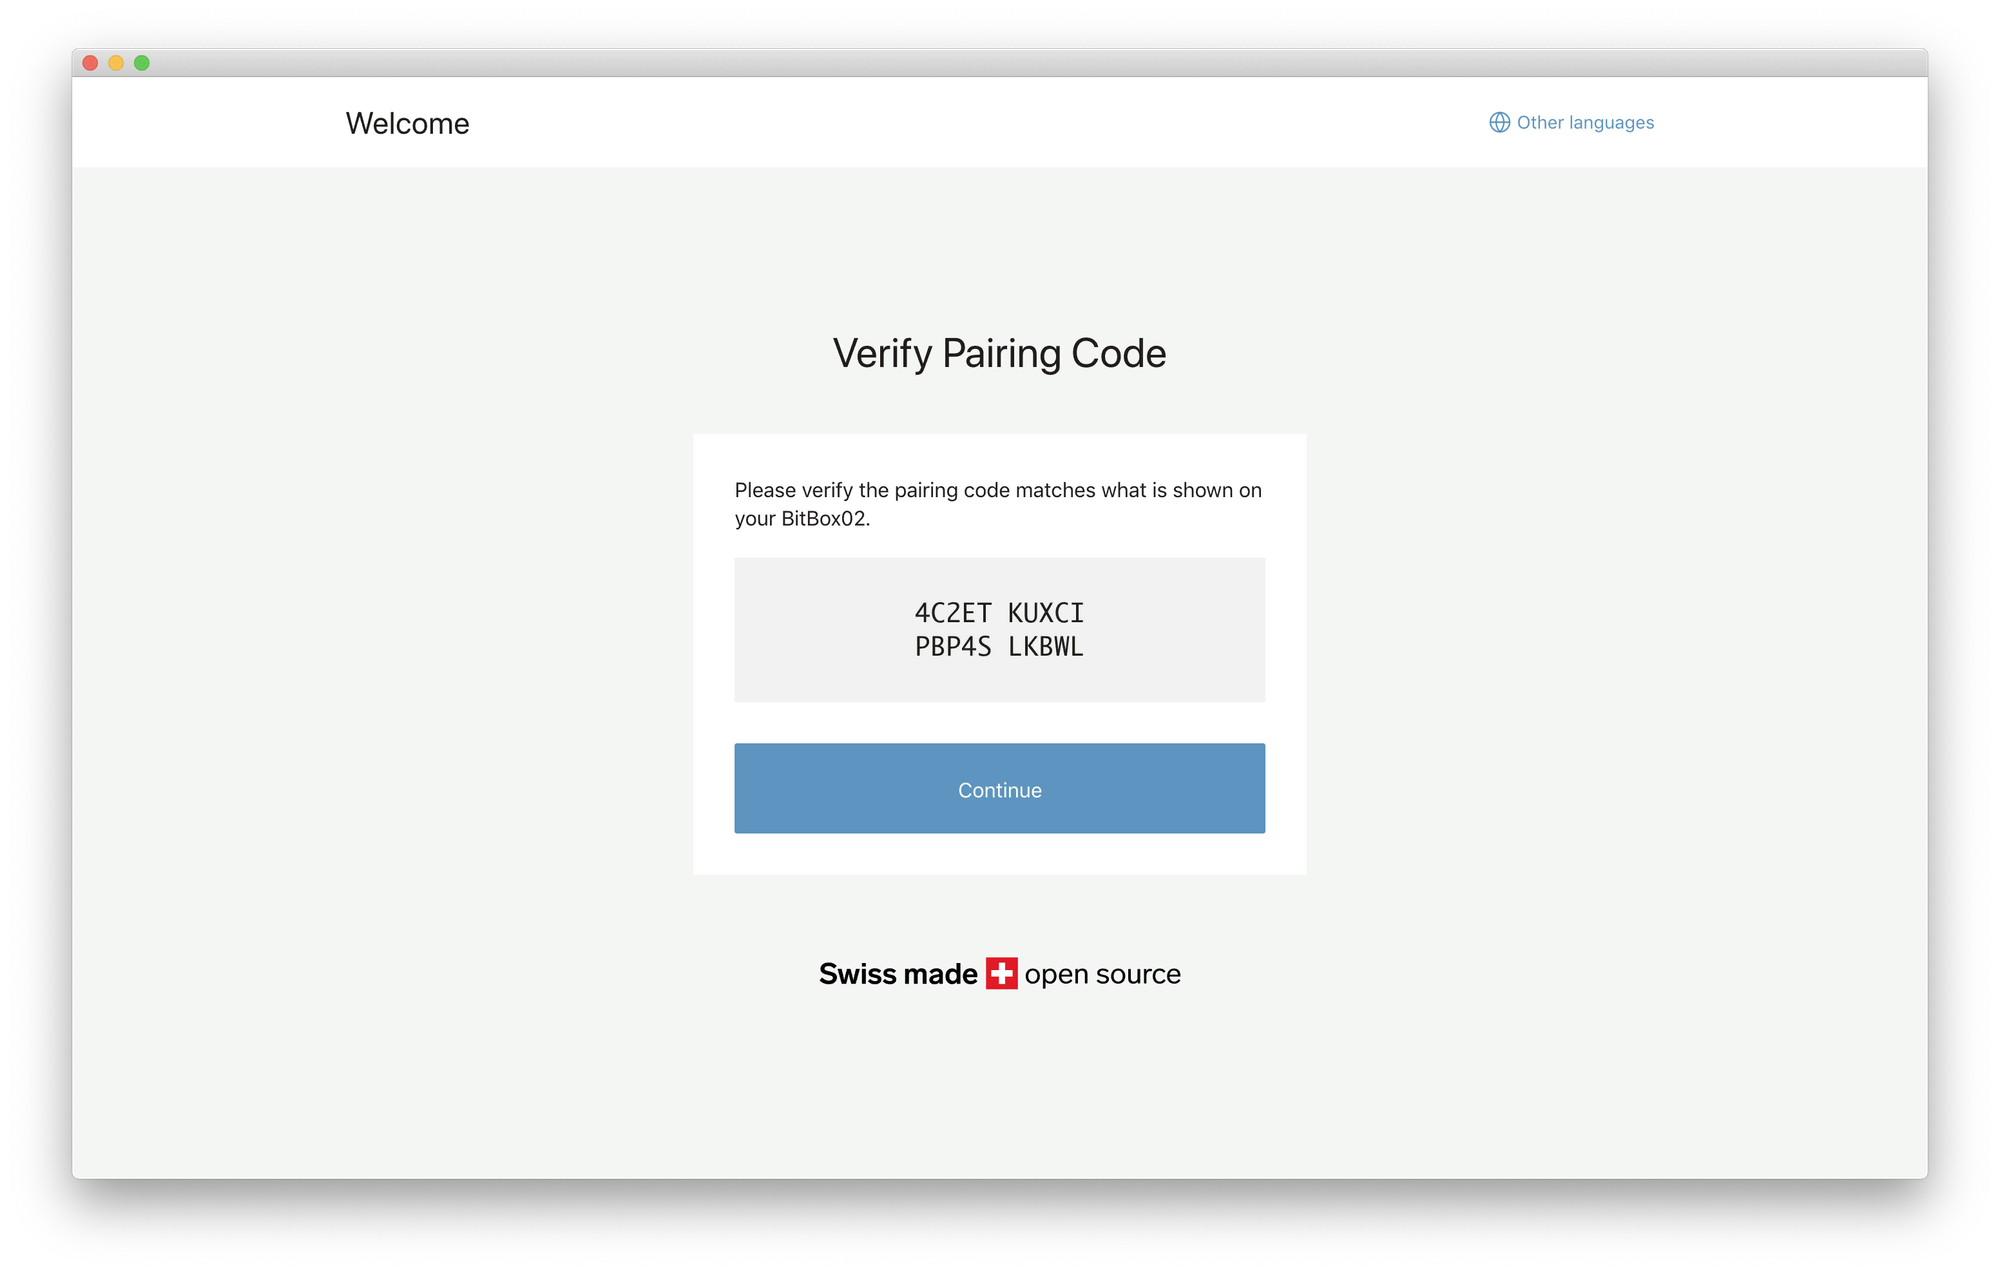
Step 3: Confirm pairing code
All information that is exchanged between your computer and the BitBox02 is encrypted. In order to make sure that there is no man-in-the-middle attack, we need to ask you to confirm that the code on in the BitBoxApp and the code on your BitBox02 are identical.
Please take the time to check each characters.
If both codes match, please confirm on your BitBox02. Then click “Continue” on the BitBoxApp.
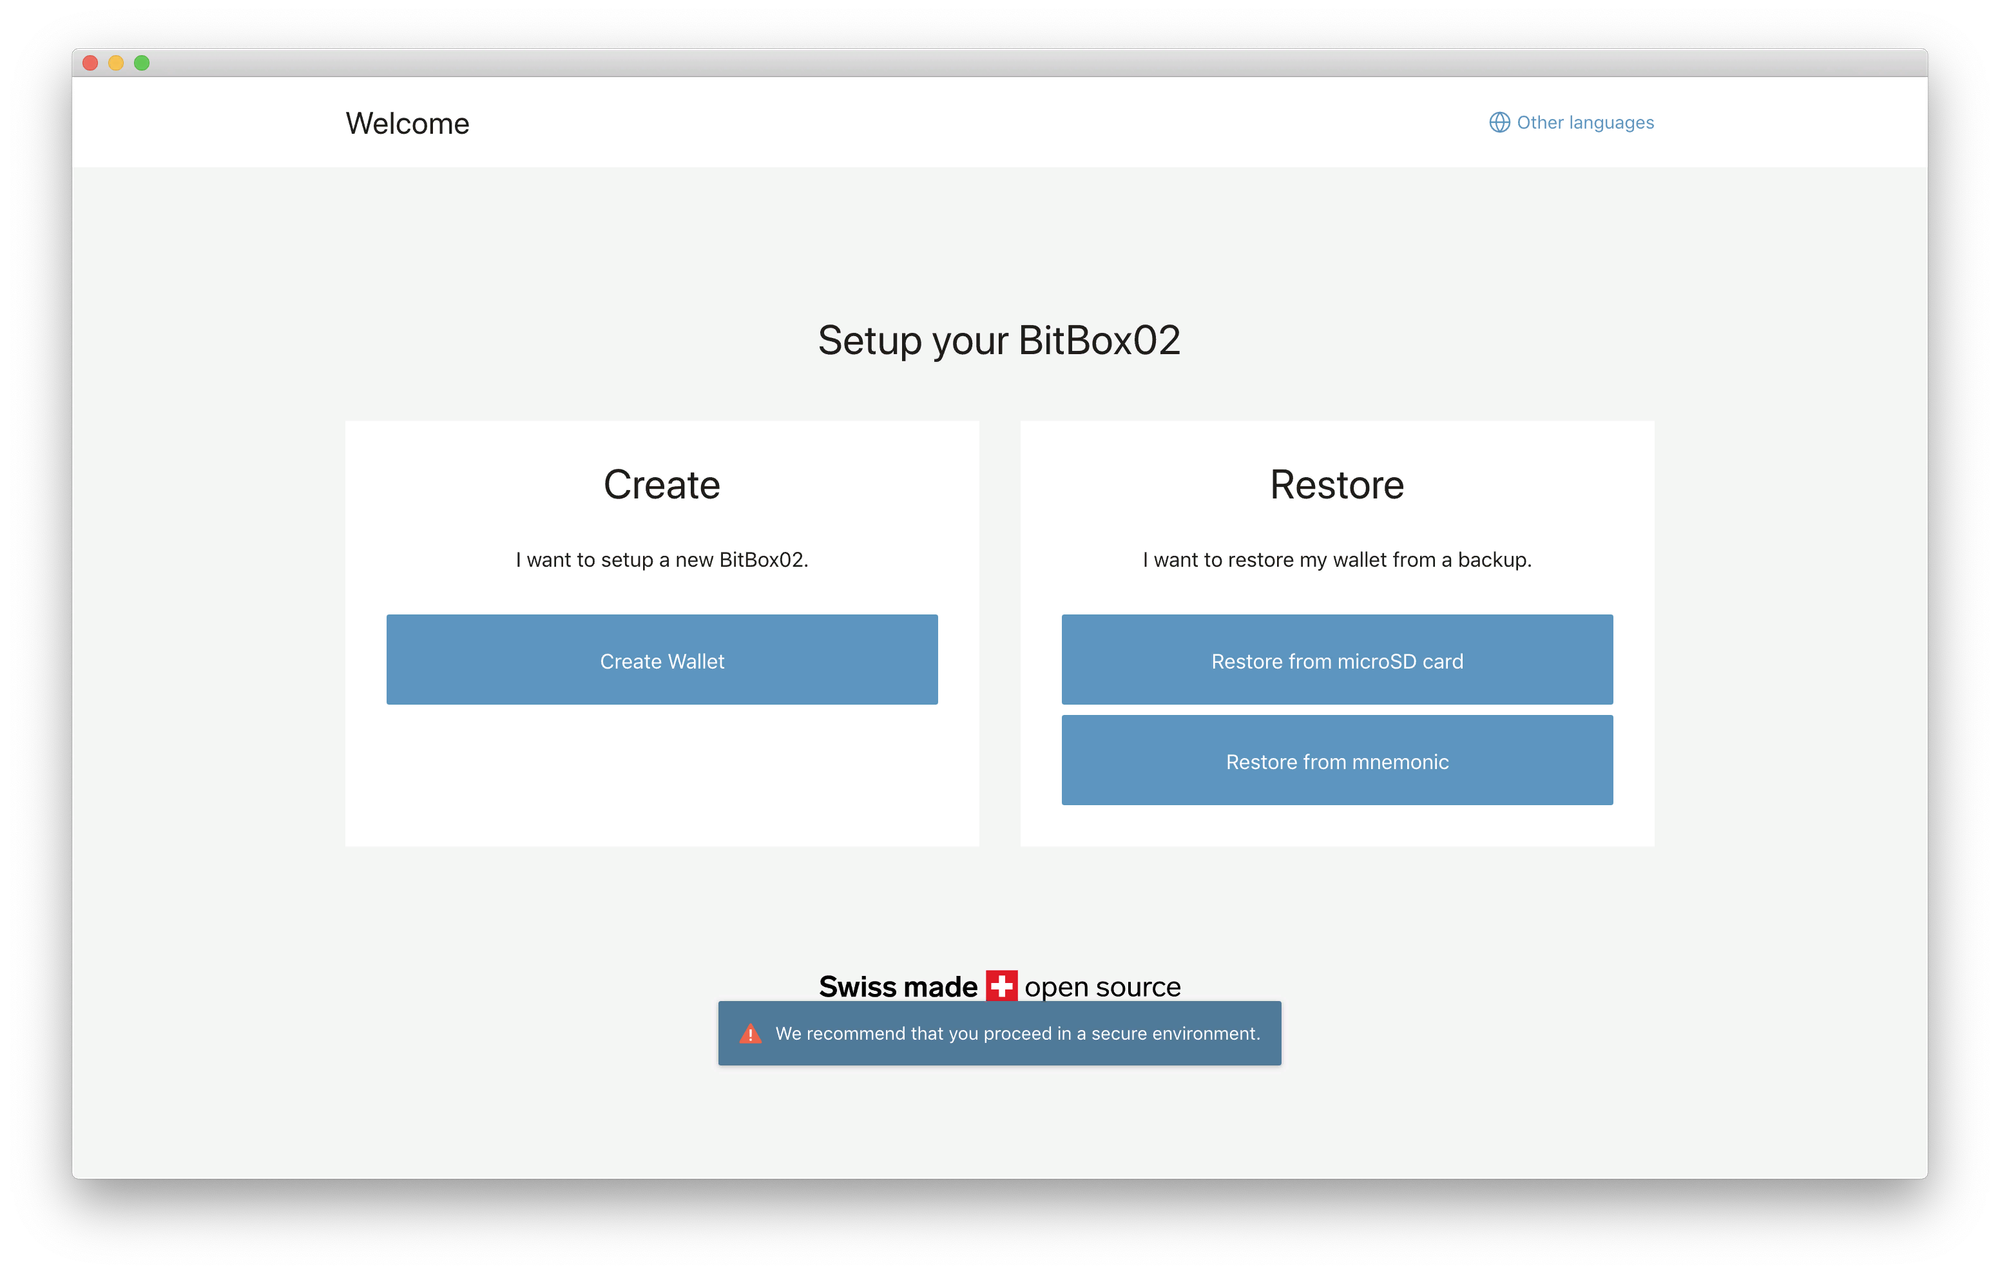
Step 4: Create new wallet or restore an existing wallet
Now you are asked to choose if you want to create a new wallet or restore an existing wallet.
- If this is the first time you create a wallet, choose "Create Wallet" and continue reading this guide.
- If you already used a BitBox02 before and you want to restore your wallet, see: How to restore my BitBox02 wallet from my microSD card?
- If you want to restore recovery words from a third-party wallet, see: How to restore a third-party generated wallet on a BitBox02?
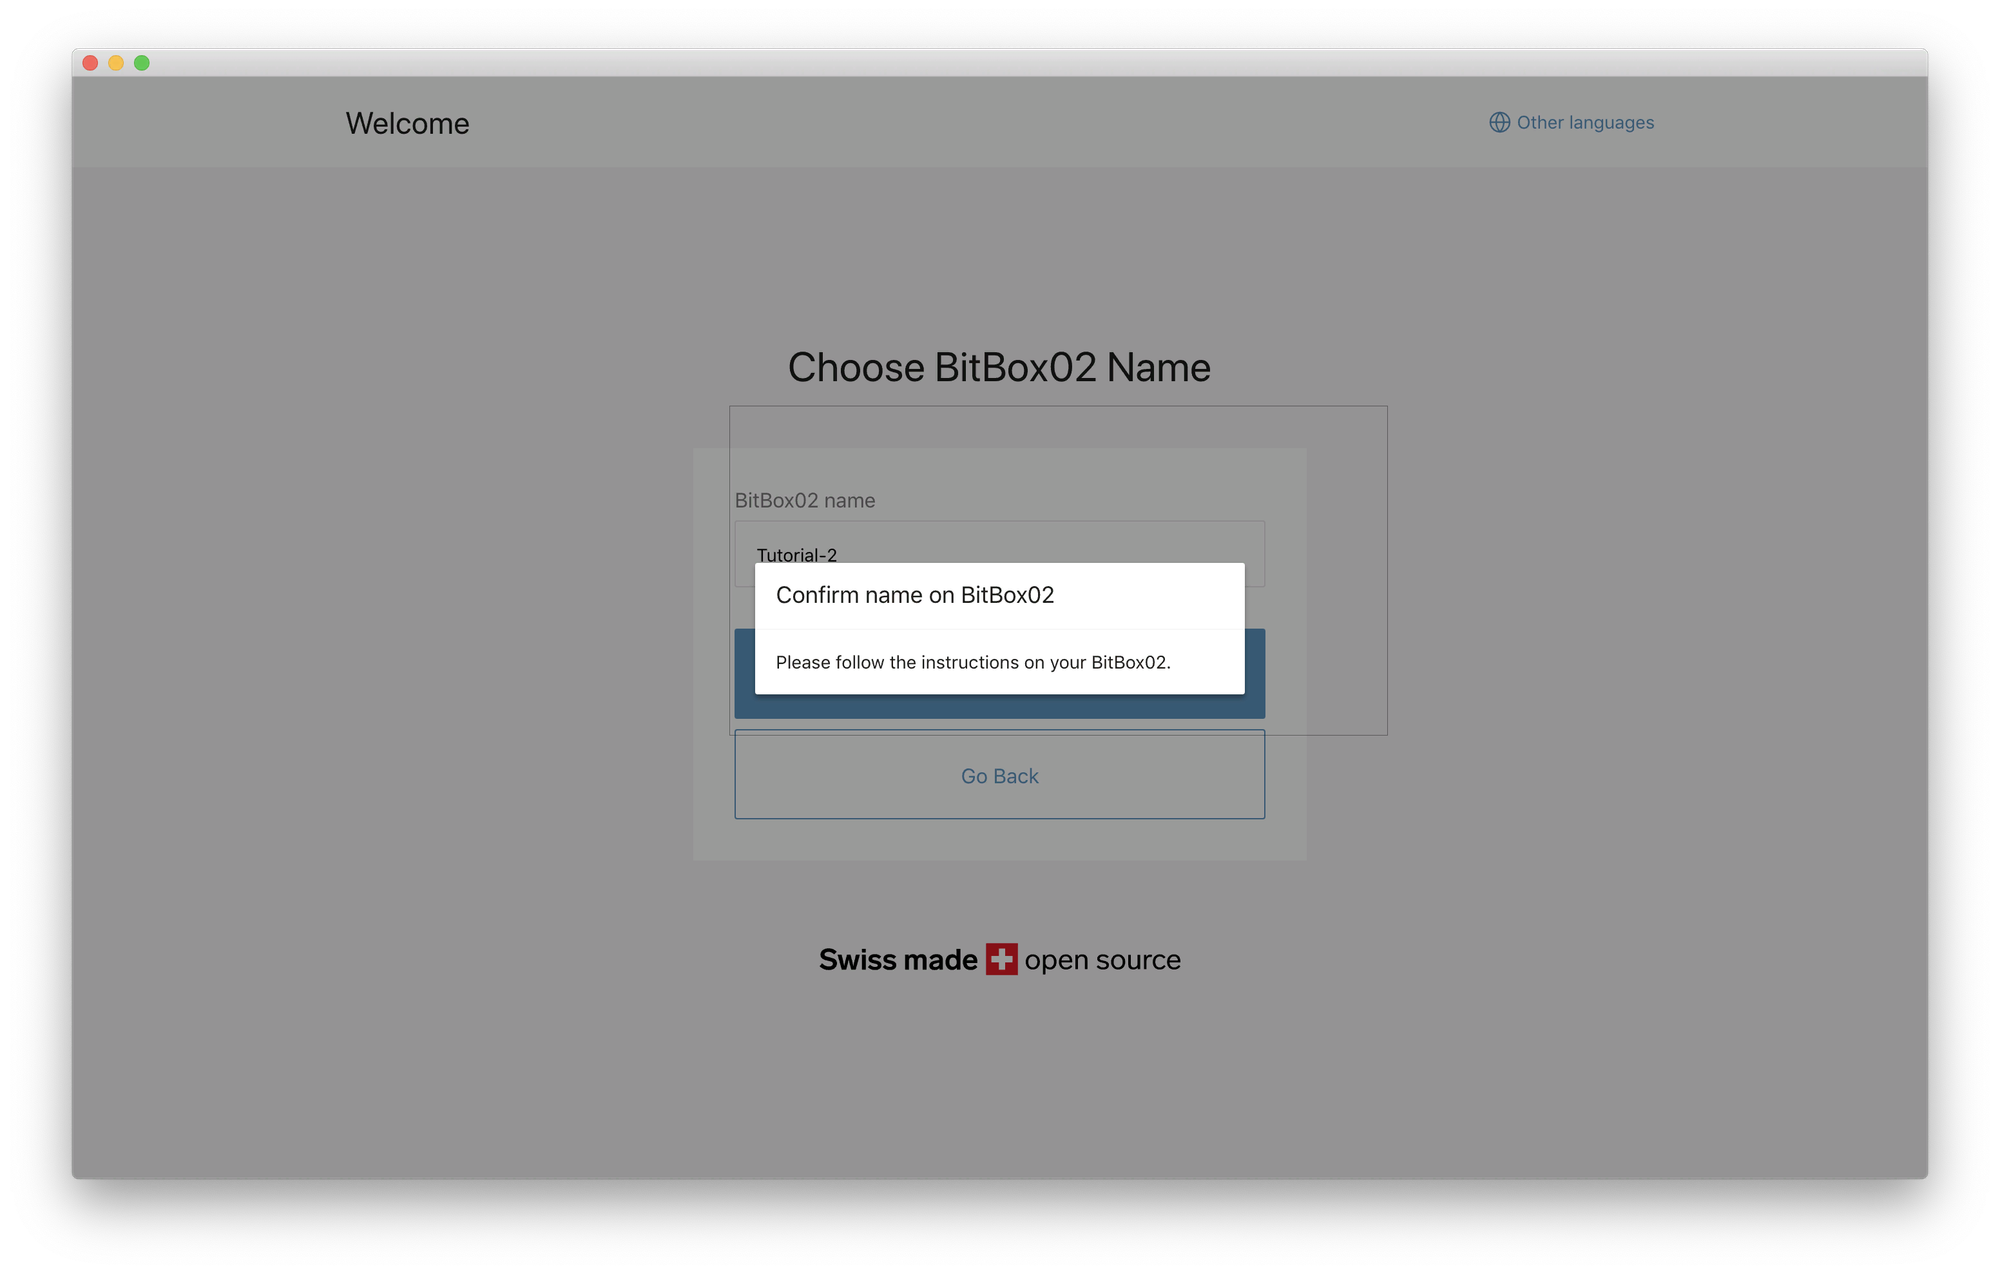
Step 5: Create a wallet
First you need to give your wallet a name. This name can be anything, choose a name that you will recognise in the future when you might need to restore from your backup.If you cannot click the “Continue” button, make sure that you have inserted your microSD card into the BitBox02 correctly, and given the wallet a name as well.

Please confirm the wallet name on your BitBox02.
Step 6: Set your BitBox02 device password
Next, you need to set a device password for your BitBox02 which you will need to input every time you want to use your BitBox02. Make sure that you remember this password. Changing the device password is only possible by resetting the BitBox02. The setup wizard will show you a video of how to use the touch on your BitBox02 to input your password.

Step 7: Create your wallet backup
After the device password is set, the BitBox02 will create a backup of your wallet and save it on the microSD card. Please check the boxes to confirm that you understand the security considerations, then click “Continue”.
Your BitBox02 will ask you to confirm today’s date as that is needed for the backup file.
The backup file on your microSD card is not password protected. Therefore, if someone has physical access to such microSD card, they can run away with the funds. That is why you should make sure that you store your microSD card backup in a safe location. However, you can protect your backup by using the optional passphrase feature.

- You can create multiple backups of your wallet on multiple microSD cards. See: How to create additional wallet backups?
- You can check at any point that you still have a valid backup. See: How to verify my wallet backup?
Step 8: Start stacking sats
Great! Your BitBox02 is ready to use. Please make sure that you store your microSD backup in a secure location.
The microSD card is not required to work with your BitBox02 for the day to day usage. It is only needed when you are configuring your BitBox02 for the first time, or when you want to restore your wallet from the microSD backup.
The Shift Crypto product line: Prices*
*Note. Prices for Shift Crypto AG products are indicated as of the date of writing the article. Visit the official online store, learn more about current offers, prices and discounts.
Payment methods: Visa, MasterCard, Bitcoin, Bank transfer, Bancontact, iDEAL, Sofort, EPS.
| # | Image | Product | Description | Price* | |
| 1 |  | BitBox02 Bitcoin-only Edition | A BitBox02 exclusively for Bitcoin. Protect your bitcoins with the latest Swiss made hardware wallet. | €119.00 | LEARN MORE |
| 2 |  | BitBox02 Multi Edition | Protect your Bitcoin, Litecoin, Cardano, Ethereum and ERC20 tokens with the latest Swiss made hardware wallet. | €119.00 | LEARN MORE |
| 3 |  | Backup Card | Protect your 24 recovery words with this ageing-resistant Backup Card with no-machine lamination protection. Detailed instruction booklet included. | from €9.00 | LEARN MORE |
| 4 |  | Steelwallet | Fire and corrosion resistant metal cold storage to protect your recovery words. | €65.00 | LEARN MORE |
| 5 | 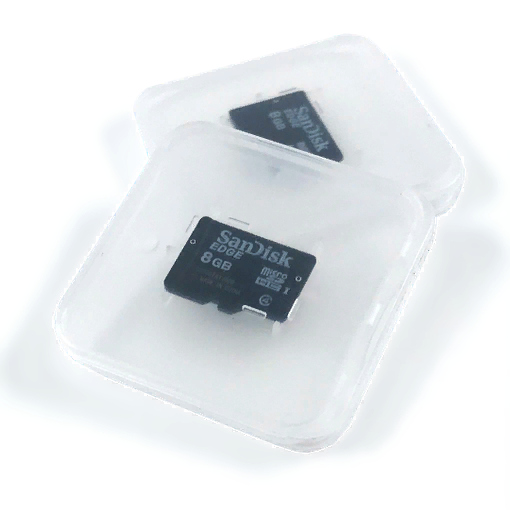 | microSD backup cards (2 pack) | Two additional high quality microSD cards for redundant BitBox02 backups. | €25.00 | LEARN MORE |
| 6 | 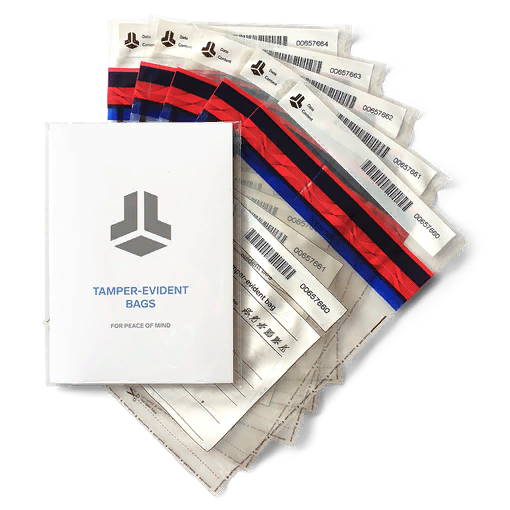 | Tamper-evident bags | Secure storage for peace of mind | from €12.00 | LEARN MORE |
| 7 |  | Connectivity Pack | Stay agile with additional USB connectivity accessories | €13.90 | LEARN MORE |
| 8 | 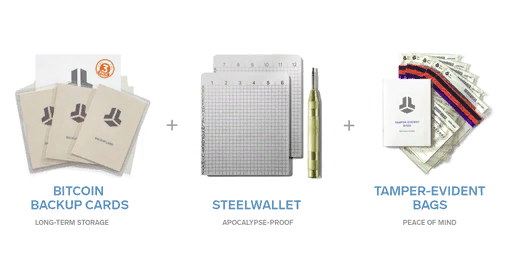 | Ultimate Backup bundle | Get your peace of mind, protect your backup easily and safely with this complete backup tools combo. | €85.00 | LEARN MORE |
BitBox02 Bundle - Best choise!

Briefly: Setting up your BitBox02
Step 1: Install the desktop app
Go to the Bitbox website and download the app for Windows, macOS or Linux.Open the file by clicking on it and go through the installation process. When this is completed, the app will open automatically. You can also open it at any time by clicking on the desktop icon.
Step 2: Connect the hardware
Place the micro SD card in the BitBox and connect it to your computer. Press once on the screen of your BitBox to connect your device. Pressing works on both the bottom and top of the device.You will now see a 'Pairing code' in the app and on your device. If both codes are the same, click the check mark on your BitBox and then click 'Confirm & Continue' in your app.
Step 3: Create a wallet
Press 'Create Wallet' to create a new wallet. Give your device a name and click on 'Name Device & Continue'.
Step 4: Create a password
Now create a password and enter it into your BitBox. You can press the top of the device to change between lower case, uppercase and digits. You can use the bottom to scroll through the letters or numbers. Once you've selected the correct letter, press both sides at the same time to enter it.Once you have entered the whole password you will need to repeat it one more time for verification.
Step 5: Make a backup
Press 'Create Backup' to create a backup. The BitBox then asks you to verify the date and time. Press tick to continue, the device has now automatically created a backup on your SD card.Always make sure you store it safely. Your password and the SD card are the key to your coins.Click on 'Get Started' to return to the main menu.
Step 6: Create a receiving address for Bitcoin or Litecoin
If you want to put Bitcoin or Litecoin on your device you can go to the left menu and select the appropriate coin. Then press the black button 'Receive' on the top right.In the image below you see the screen that you will see. You can use the black and white QR-code as well as the written out receiver address underneath.
Step 7: Create a receiver address for Ethereum via MyEtherWallet.
Go to MyEtherWallet. Press 'Access My Wallet' and select the Digital Bitbox under Hardware.You will now see the screen below. Accept the terms and conditions and click on 'Access My Wallet'.
Step 8: Manage Ethereum and ERC-20 tokens
You will now reach the next screen. Here you can find your shipping address and check your balance. In the box on the right you can search for other coins.