How to set up a Prokey Optimum hardware wallet, send and receive assets
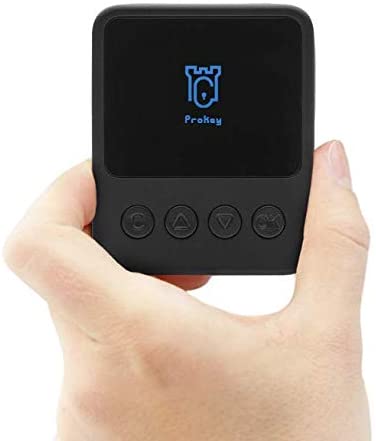
The Prokey Optimum is a secure, easy-to-use cryptocurrency hardware wallet that protects your crypto assets from online and offline attacks, while also supporting a wide range of cryptocurrencies without installing any application, letting you enjoy an all-in-one web-based wallet.

Learn more about the Prokey in this review.
- Secured by design, Protected against supplychain attacks
- Support thousands of cryptocurrencies
- Create and sign transactions inside device
- Works on browser, No need to install application and bridges
- Manage all assets through a single UI
How to order and buy a ProKey wallet?
Currently, you can get your very own Prokey device from Prokey online store.
You can choose the currency that you are using (fiat/current currencies for now) and make the payment via the payment page towards the end of the purchase journey.
Setting Up Your Prokey by Unboxing it First
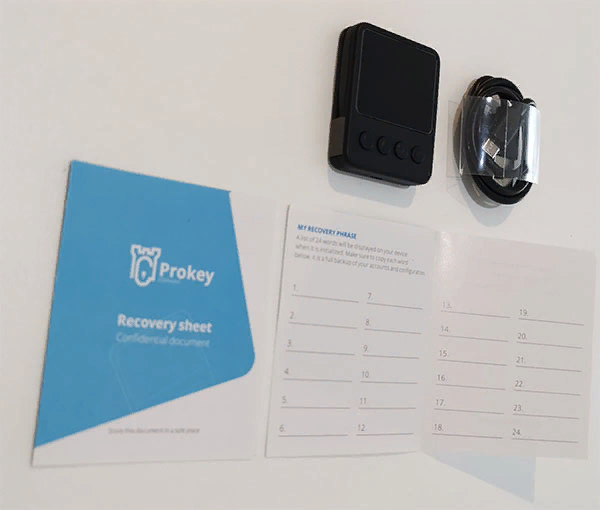
Unboxing your Prokey device is easy. After taking off the top part of the box, you will be greeted by the device safely secured in boxing foam. Take the device out, along with the foam and you will see some of the other items that we have included with the box. This includes Three (3) documents, all being empty recovery sheets and an extra USB connector cable.
#ProTip: Before initializing your Prokey Optimum, make sure that there is no firmware already installed. If it does, it means that it has either been compromised or tampered with. Your Prokey Optimum should NOT come to you ready-to-use because you should install the firmware yourself.
Setting Up Your Prokey
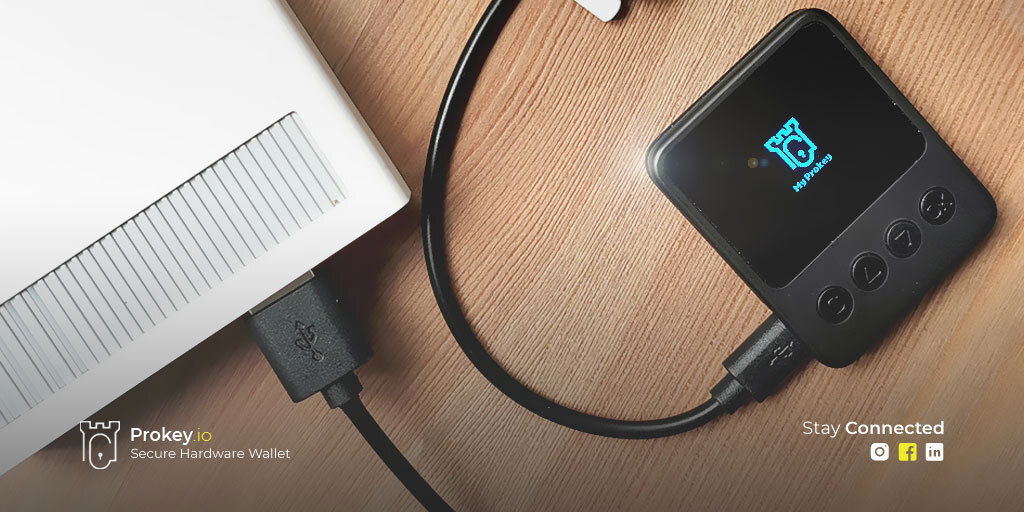
- Connect Your Device
The first thing that you need to do is to visit Prokey Wallet interface. The software that your Prokey device uses focuses mainly on the Google Chrome browser, so head on to wallet.prokey.io to get started.You will be greeted by connect landing page. Here, connect your Prokey device to the laptop/computer and click the "Check Device" button. There will then be a pop-up showing you that you have connected the device. For first-time users, the name of the device will appear as "Prokey Bootloader". The same goes on the device. You will be prompted on the web interface to install the firmware needed to start running your wallet. Click "Install Firmware".
- Install the Latest Firmware
Installing the latest, updated firmware on your Prokey will take around 15 seconds to be completed.Once this is done, disconnect the device and reconnect it. Go to wallet.prokey.io to rectify that the device has been successfully updated with the latest firmware (or you can simply click on the "Wallet" button on the top-right section of the page to confirm this).Once this is done, you can now see that the device's name in the pop-up has changed from "Prokey Bootloader" to "Prokey Optimum". This means that your device is ready to be used.
- Create a New Wallet
The next step is to create your first wallet. Click on the "Wallet" button on the top-right section of the interface and it will take you to the Wallet page. You will be directed to a page with the options of "Create A New Wallet" and "Restore Wallet from Backup". Choose to create a new wallet and a message will appear on your Prokey device to confirm on a new wallet creation. After confirming, your new wallet will be created. Then, you will be prompted to backup your wallet before creating it. Though you will be given the option to skip this step, we highly suggest and advise you to backup your wallet.
- Create a Backup
Once you choose to backup your wallet, you will be greeted by a progress bar with four (4) steps: "Accept Terms", "Create a Backup", "Set device name", and "Setup PIN lock". After reading the terms, click on Next.You will be prompted to copy the 24-word recovery seed used in the cases of recovering funds and information of your wallet due to device damage, loss, theft, or malfunction. This series of words is crucial to the security and recovery of your funds and keys if anything happens to your device. Follow the following instructions and the first seed phrase will appear on your Prokey device screen. Write down the recovery seed in one of the recovery sheets provided in the box carefully. Once you have completed writing down each word, you will be prompted to check each one again. Click Next when you are done.
- Name Your Device
At this stage, you have the ability to customize your Prokey's device name, making it uniquely yours. Naming your devices would also help in distinguishing between your Prokey devices.Start by clicking on the Continue button.There is a maximum limit of 16 characters for you to name your Prokey device. This name will appear along with the Prokey logo when you connect your device to a laptop or computer.You will be then prompted by the browser to confirm the naming of your Prokey device on the device itself. Choose "Confirm" if you are happy with the name or choose "Cancel" to change the name.
- Set Up Your PIN
Setting up the PIN Protection feature on your Prokey device adds another strong layer of protection and security to your assets and information. When prompted, choose "Confirm" on your Prokey device.There will then be a pop-up window showing you a number pad with a randomized arrangement. We recommend you to pick a PIN of 4-6 numbers-long.#ProTip: this PIN is used to access your device and to authorize any form of transaction you will have in the future, hence remembering it or having it written down is highly suggested.Another #ProTip: if you have trouble choosing a good PIN, just pick 3 numbers in a line followed by another line. This is fine to do since the numberpad's arrangement is randomized.When you first enter your chosen PIN, you will be then prompted to enter it again. You will notice that the arrangement of the numbers on the pad has been randomized again. Be careful when inputting the PIN again (and everytime you do in the future).
- Bookmark the Page
Bookmarking the page of the Prokey Wallet would save you a small amount of time each time you would want to make a transaction. We would recommend to make sure that page is running on a secured site before proceeding to bookmark it.
Send and Receive Assets
How to Receive Payments with the Prokey Optimum
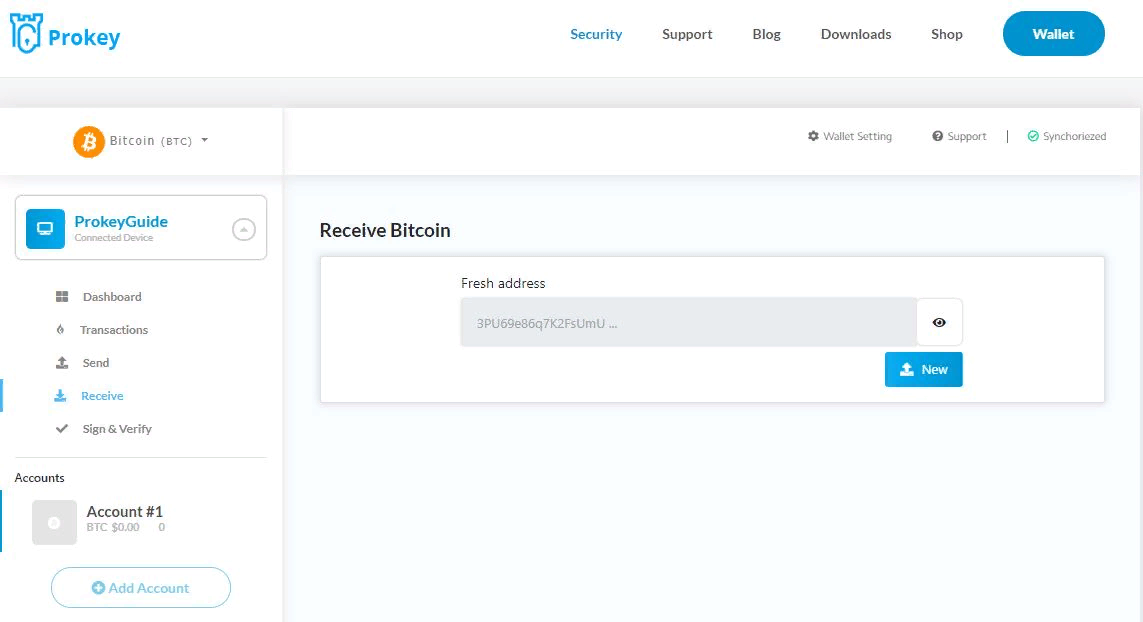
Once you have initialized your Prokey Hardware Wallet and got backup from your recovery phrases, you are ready to receive your first coins.In order for you to receive coins, you need to give an address for the sender to use. Clicking on the Receive button on the left of the interface, you will be directed towards the receiving page as such:
Confirm on Prokey Optimum
At this point, you will be asked to check and confirm the address on your Prokey. Always make sure the receiving address created by your Prokey device matches the one in Prokey Wallet. This will make sure that the address is yours and not one generated by a third party.You can always re-check and re-confirm the address on your Prokey device by clicking on the eye icon next to the address in the Prokey Wallet.
Display the Address as a QR Code
To display the address in the form of a QR code, click on "QR" on your Prokey device before confirming the address. The QR code will then be displayed both on your Prokey device and the Prokey Wallet. To display the QR code in your wallet only, confirm the address on your Prokey device.
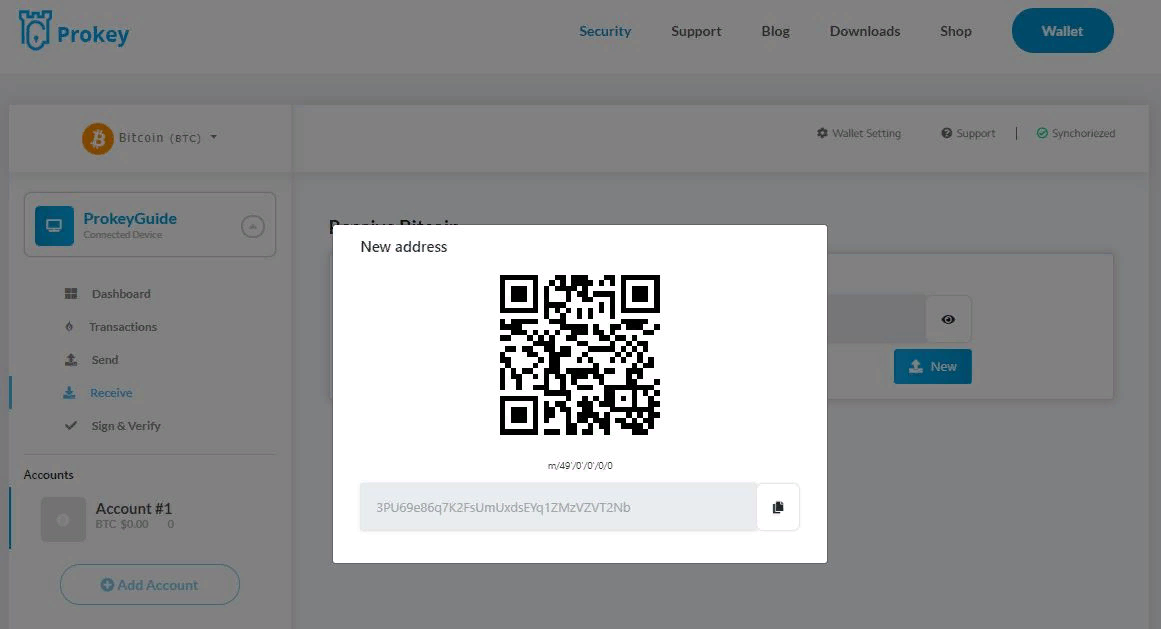
Generating Multiple Addresses
You may also use the "Show new address" button to generate multiple receiving address. This can help you in keeping track of your payments as well as maintaining a high level of privacy.
Transaction Confirmation
Now you can use your newly generated address to receive funds. When someone makes a payment to you, you will see it in your transaction panel. At first, it will appear as unconfirmed. After the transaction gets its first confirmation in the network, you will see the "unconfirmed" text replaced by the time of the confirmation. You can always double-check the status of your transaction in a blockchain explorer by clicking on the confirmation time.You can send your newly received funds even before the first confirmation. However, we strongly recommend waiting until the transaction is confirmed multiple times (three to six confirmations is considered safe). The confirmation time varies based on the transaction fee and the state of the network.
How to Make Payments with Prokey
Making payments using your Prokey device is as simple as clicking a few buttons and entering addresses.
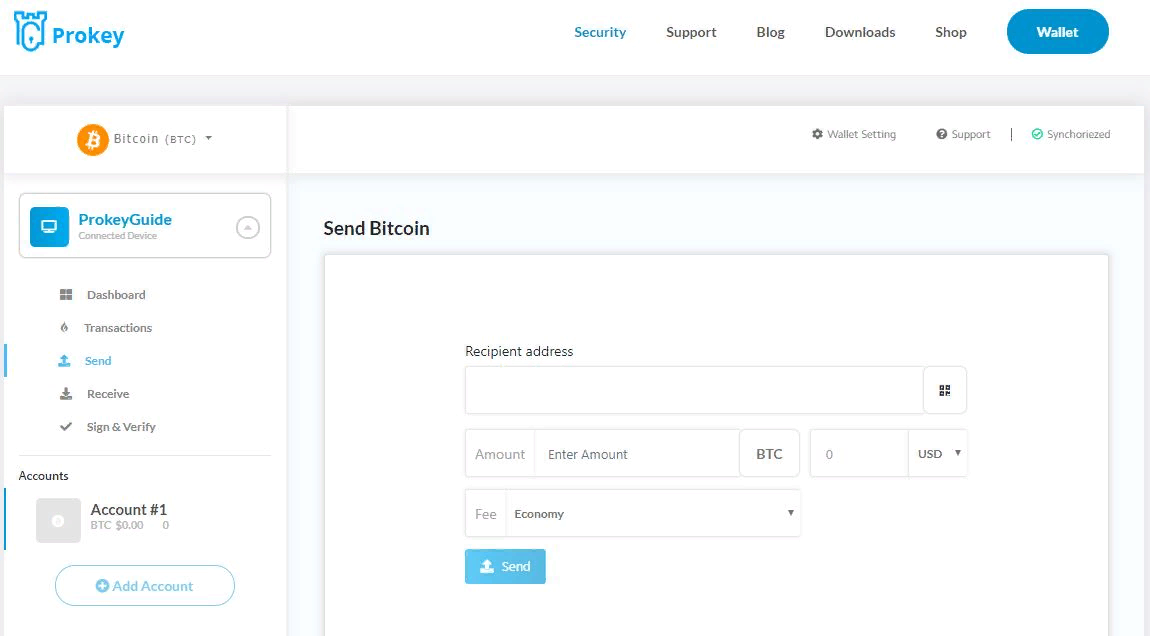
- To start the process, click on the "Send" button on the right side of the interface to open up the Sending page.
- Enter the address of the recipient that you are sending your coins to. You can either manually type in the address or if your recipient can produce a QR code, you can click on the QR scanner button to scan the code using your webcam.
- Enter the amount of coins you want to send in the next box. Notice that there will be a warning showing up if you have less than the amount of coins you want to send, this includes not having any as well.
- Next, you determine the level of priority to the transaction. This comes in a form of a fee. The levels are Economy, Low, Normal, and High.
- Press Send ONLY after you have double-checked all of the above to be in the correct amounts.
Confirm the Transaction on Your Prokey
Right after pressing Send, a confirmation popup will appear. Check again the amounts and the recipient address of the transaction. If all is in order, choose confirm. If something is off with the amount or the address shown, there is a possibility that your computer is infected. Rest assured, your coins are still safe in your Prokey, though we strongly advice you to contact support.The total amount of the transaction, including the fee will be displayed on your Prokey after you confirm the address and amount of coin to be sent. Check them again one last time before holding down the OK key to sign and send the transaction.
Transactions Confirmation
Every transaction you make will appear in the Transactions page. In concerns of sending coins, transactions will first appear as "unconfirmed" until the first few confirmations in the network come to light. You will then see the confirmation for the transactions in a form of time. We suggest you to double-check the transaction in a blockchain explorer by clicking on the confirmation time.If you want to make another sending transaction, we suggest for you hold until 3-6 other transactions have been confirmed in the blockchain before doing so. The timings of these confirmations are based on the transaction fees and the state of the network.
How to See Transaction Details in Your Prokey
If you want an overview of the transactions you have made, you can click on the Transactions button on the left side of the interface. Here you will see all the transactions you have made, be it the ones that you sent or the ones that you received.
